This week, teacher candidates from EKTEP took part in a local elementary school-wide event called Innovation Hour, where students had the opportunity to discover, explore, and play with different types of educational technologies.
Taking place in the gymnasium, we set up five different stations for the event:
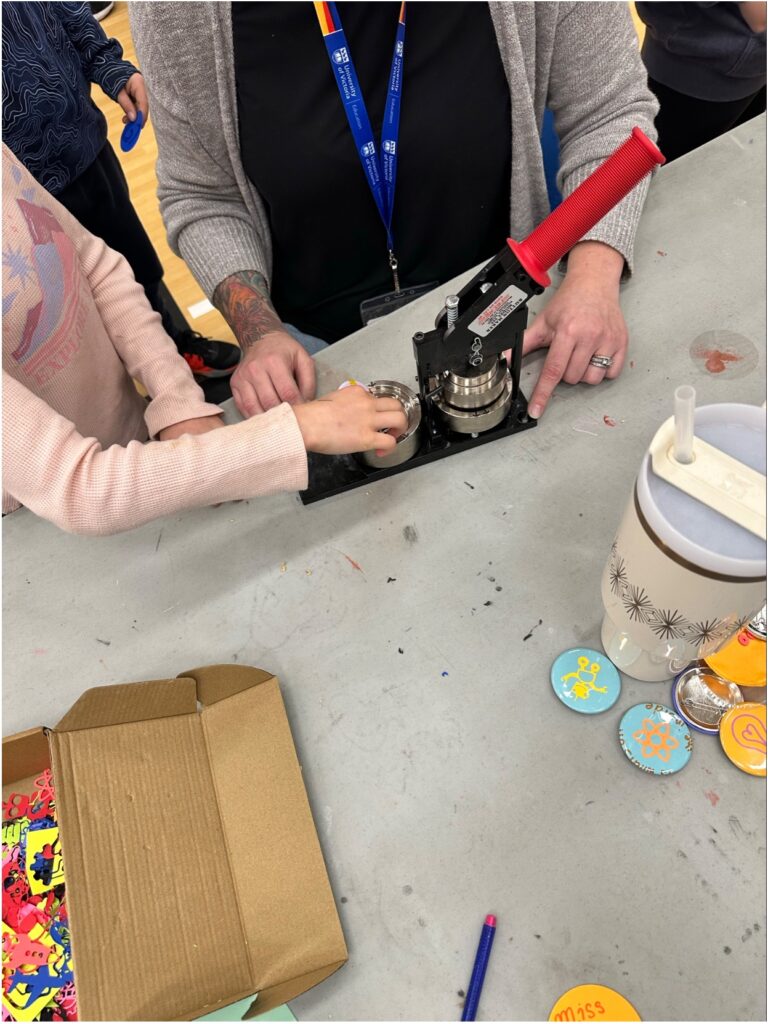
- Button making
- Go Cubes
- Microbit AI
- Chomp Saw
- Unplugged Activity: Brain in a Bag
GoCubes
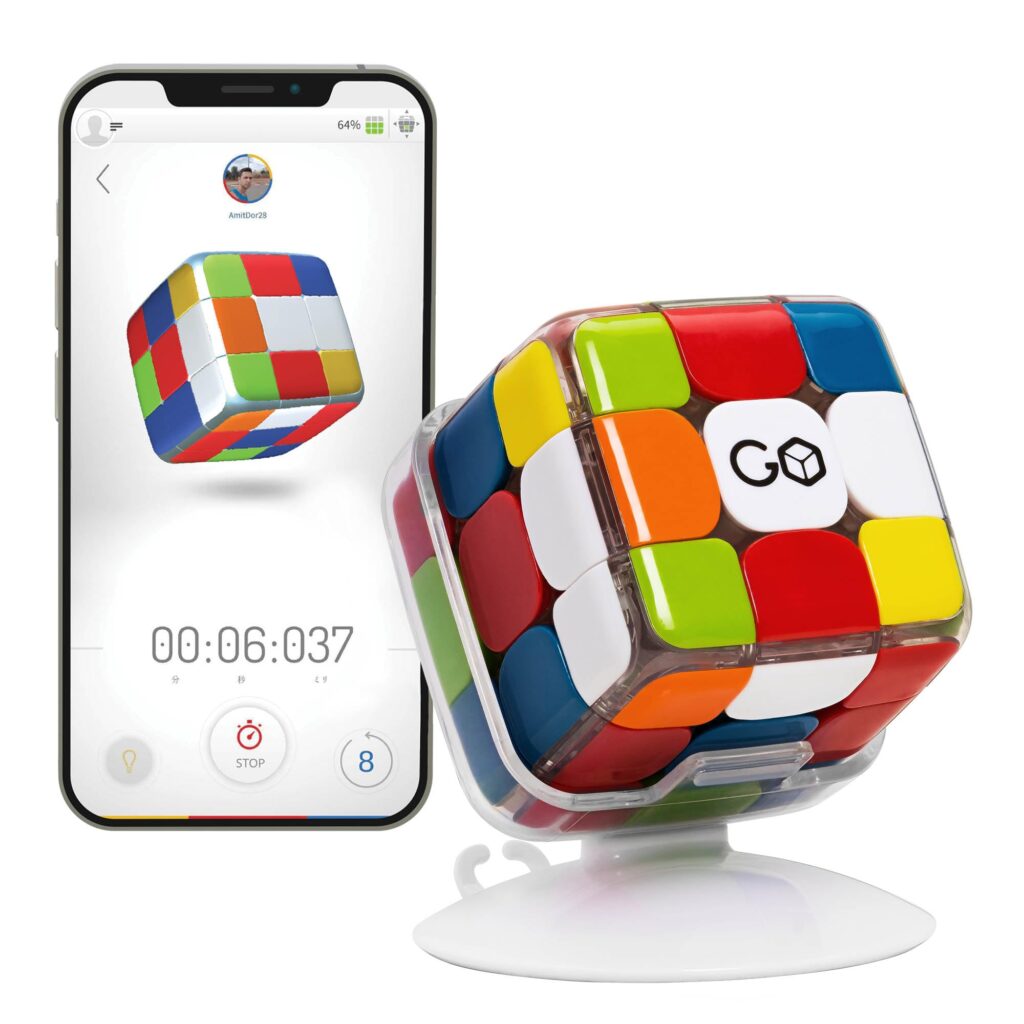
The first station I facilitated was the Go Cubes, which are electronic and bluetooth Rubik’s cubes that connect to a mobile app designed to help the player solve the puzzle and play interactive games. The app has lessons, games, and even has new puzzles for you to try out. You can even connect with friends to compete in speed games against one another.
Setting up this station was a bit of a time-crunch. With 15 minutes to connect all of the cubes to their respective iPads and ensure the app’s digital cube matched the physical cube, we were racing to complete everything before our first group of 15 students.
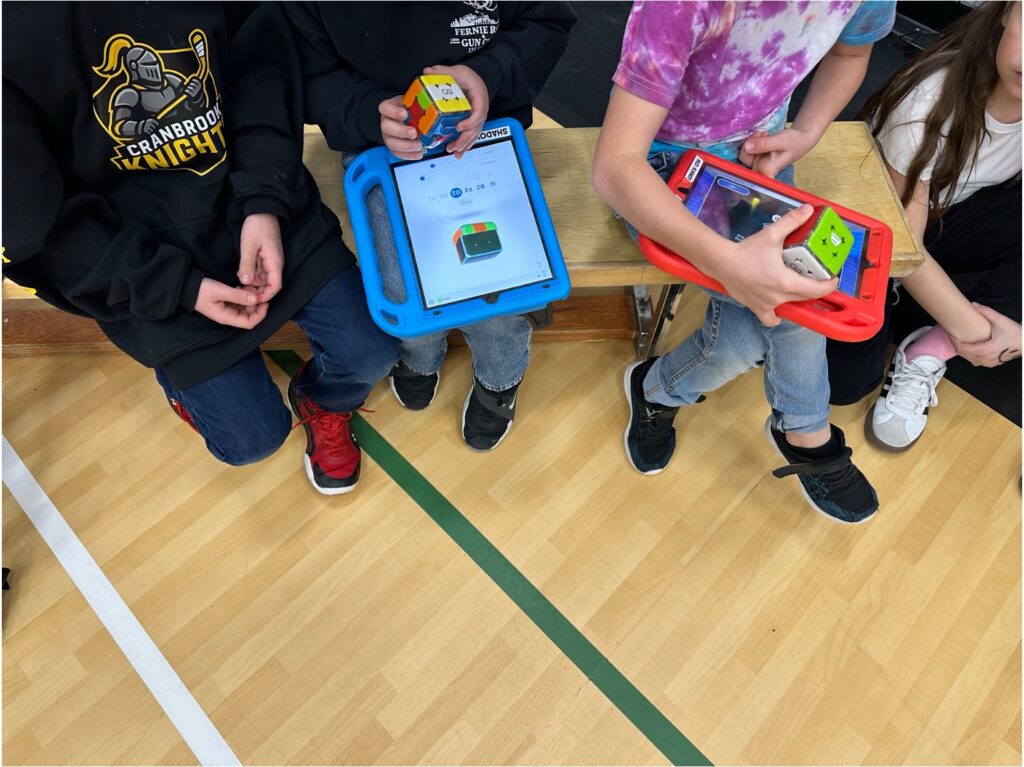
One of the most important lessons to learn about becoming a teacher is the ability to think on your feet. With our first group of students excited and eager to explore the GoCubes, our team of EKTEP teacher candidates decided we could utilize this eagerness in having them help us configure all of the cubes. We turned a tedious task into an interactive lesson on collaborative problem-solving, giving students a chance to troubleshoot technology alongside us while keeping their curiosity and engagement at the centre of the experience.
Each group was given approximately 12 minutes at each station. With each group our team became a well-oiled machine; we introduced the cube, talked showed what a ‘solved’ cube looks like, and showed how the app on the iPad can help them solve it and play interactive games. Rubik’s cubes help students develop spatial awareness and problem-solving skills. Original non-electronic cubes can be extremely challenging to solve (I still haven’t figured it out!), which may cause some frustration in students. The GoCube can bridge this gap, providing students a guided lesson at their own pace.
ChompSaws
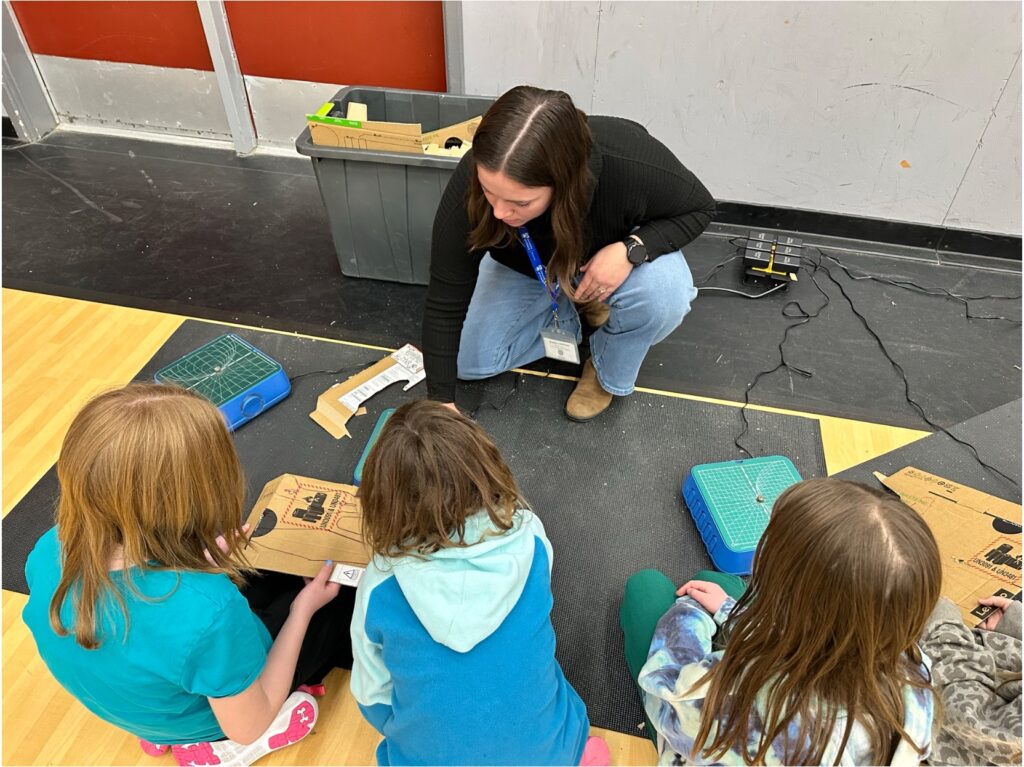
I was very excited to manage the next station: making cardboard airplanes with the ChompSaws. I spoke about this amazing tool in my previous post linked below. This station was a great hands-on experience for me to learn how to introduce the tool and inspire creativity in students.
We had three teacher candidates running this station. With a little extra time to prepare, we set up a game plan consisting of three substations, one for each teacher candidate to manage: tracing, drilling, and cutting. Because there were only six Chompsaws for groups of 12-15, we also added an area for colouring plane parts to keep students busy. Students were placed in pairs, sent to trace their parts first, either drill the holes or cut next, and finally assemble and colour the plane if there was time left.
I really enjoyed this station. If I were to do it again, I would recommend having students spend at least 20 minutes at each station. I felt bad rushing through instructions, but I knew that if I didn’t, they wouldn’t get to see their finished product. Nonetheless, students seemed to enjoy the overall experience. Finished or not, students walked away excited and happy about the opportunity to use the Chompsaws.
I think Chompsaws are a great way to inspire students and give them a glimpse into the career of carpentry. Crafting an object or piece of art with your hands provides a sense of satisfaction that is hard to describe. Having opportunities like this event can help students see real-world applications for their creativity.
Key Takeaways
The Hour of Innovation event was such a fun experience for the students. The gym was teeming with excitement, joy, and laughter. In the future, I hope all schools in SD5 will get the opportunity to have this event at their respective locations. I also recommend finding a way to lengthen the amount of time. Perhaps this could take place over the course of a week, having classes come in to spend 30 minutes to an hour exploring each of the activities. I feel that this extra time would allow for a well-rounded learning experience, ensuring connections are made to the BC Curriculum. For example, with the Chompsaws, it would be fun to allow students to design their own planes. They would learn about weight distribution requirements and figure out what exactly makes a plane fly through prototyping and experimentation.